Musical Instrument Repair & School Supplies
Instrument Information and Maintenance Tips
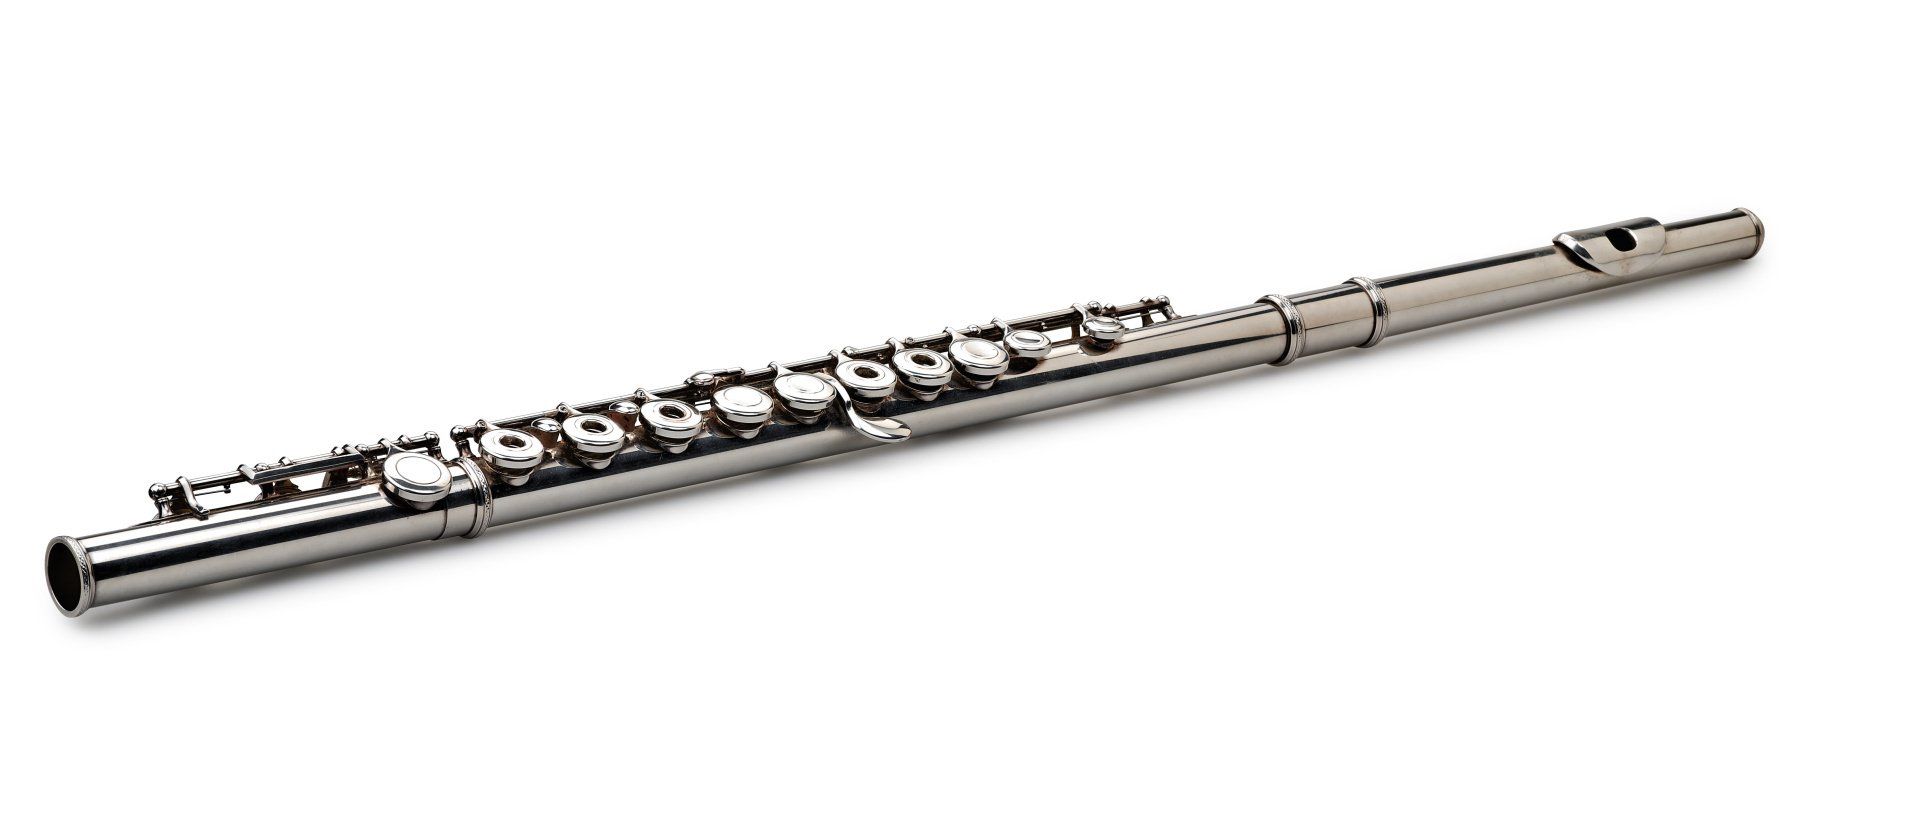
Flute Assembly and Maintenance
Take extra care to prevent exposure to sudden changes in temperature and humidity. Avoid direct, extended exposure to:
- Sunlight
- Rain
- Heaters
- Air Conditioners
Remove all moisture with a swab and cleaning rod after you have finished playing. Flute pads do not like to be kept wet or moist while being stored.
Assembling Your Flute or Piccolo
- Assemble, tune, and clean your instrument for the first time under the guidance of your teacher.
Assembly
- Taking care not to apply pressure to the main body keys, attach the foot to the body with a gentle twisting motion.
- Attach the headjoint in the same manner, using the marks on each joint as a guide. If there are no marks, align the body buttons with the pinkie keys on the foot joint
*NEVER USE ANY CORK GREASE/OIL OR LUBRICANTS ON FLUTE JOINTS.
Cleaning the Body
- Insert the corner of a clean cotton cloth through the small hole at the top of the cleaning rod. Wrap cloth or flute snake around the rod making sure no metal parts are exposed.
- Insert gently into foot (for flute), body and head-joints individually, and twist.
- For daily care, wipe the entire length of the body with a polishing cloth being careful not to apply pressure to the keys. Wipe down the keys, taking care not to scratch them or damage the pads.
Storing the Instrument
- The case should always be used for storing the instrument after playing and for transporting. Do not put anything in the case that could place pressure on the instrument.
*To keep your instrument in optimum playing condition, have it cleaned and inspected at least once a year by a qualified repair technician.
Clarinet Assembly and Maintenance

Take extra care to prevent exposure to sudden changes in temperature and humidity. Avoid direct, extended exposure to:
- Sunlight
-
Rain
-
Heaters
- Air Conditioners
Assembling Your Clarinet
- Assemble, tune, clean and lubricate your instrument for the first time under the guidance of your teacher.
Applying Cork Grease
- Applying cork grease to the corks just before assembly promotes an easy, proper fit of clarinet joints. Be sure to apply an even coat on all cork joints to provide protection and extend cork life. It is a good idea to wipe off old cork grease before adding new. Joints that fit together easily need the least amount of grease.
- Attach the barrel to the upper joint and the bell to the lower joint.
- Connect upper joint and lower joint with a gentle twisting motion. Pay careful attention to the bridge keys; careless assembly easily damages them.
- To move them into alignment, hold upper joint keys lightly, making sure the bridge key is up. Align the upper joint bridge key on top of the lower joint bridge key.
Placing the Reed on the Mouthpiece
- Gently hold the reed in your mouth or in water for a few moments before putting it on the mouthpiece.
- Place the reed on the mouthpiece and secure it with the ligature. In the normal playing position, you can just see the tip of the mouthpiece just above the reed.
Caring for the Interior of Your Clarinet
- Removing the Reed: Remove the reed from the mouthpiece by loosening the ligature and sliding it off. Dry the reed with a clean cloth and place it in a reed holder.
Removing Moisture from the Mouthpiece
- Remove all moisture and dirt from the inside of the mouthpiece by drawing a cleaning swab through it. Take care not to scratch the mouthpiece, and always pass the swab through from the tenon cork end. A woodwind mouthpiece brush may be used with warm soapy water when mouthpiece becomes especially dirty
Cleaning the Body
- Draw the cleaning swab through each joint and barrel to remove all moisture.
Caring for the Exterior of Your Clarinet
- For daily care, wipe the entire length of the body with a polishing cloth being careful not to apply pressure to the keys. Wipe down the keys, taking care not to scratch them or damage the pads.
Storing the Instrument
- The case should always be used for storing the instrument after playing and for transporting. Be sure to remove the reed and store it properly. Do not put anything in the case, like your band book or folder that could place pressure on the instrument.
*To keep your instrument in optimum playing condition, have it cleaned and inspected by a qualified repair technician at least once a year.
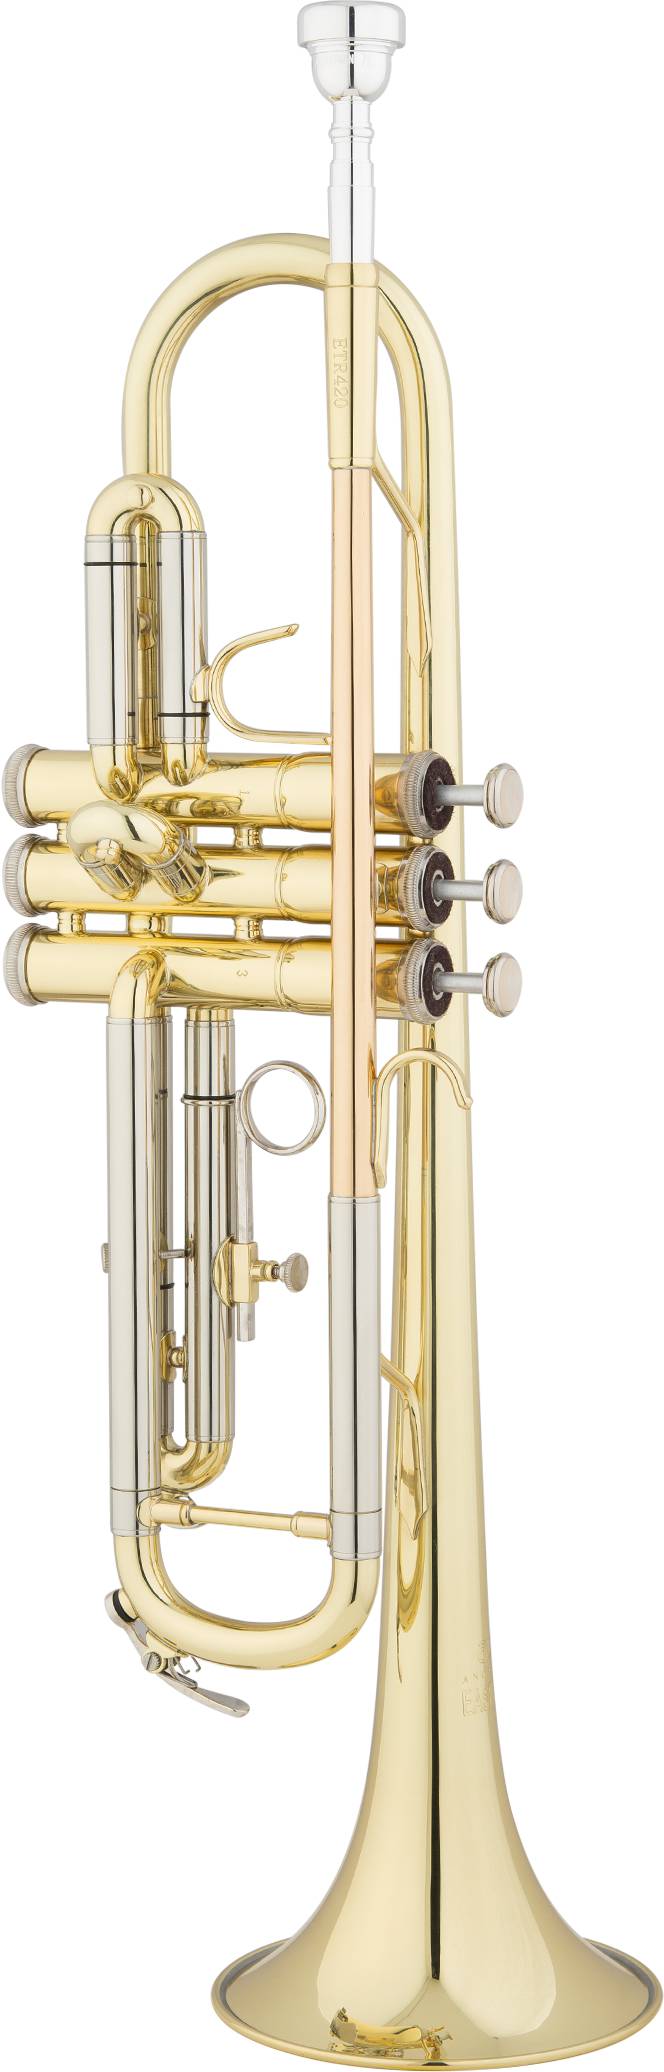
Trumpet Information

Valves should be nickel plated brass, or stainless steel. Monel Steel can be good, but there are some monel valves that react with the oil and metals, making them chronically stick. Also, proper fit and finish allow the valves to function smoothly without air leaking down the cylinder and casing wall.
Bell and Body should be made of quality brass and nickel. Brass is an alloy of copper, tin, and zinc. The mix of those elements, plus the method of smelting them determines the quality of the brass. Good quality brass has some elasticity, but will hold its shape when being worked. Lesser quality brass is overly soft and requires too much working to create the proper shape. This results in ‘dead' brass in spots, stopping the transmission of sound. It is also next to impossible to repair.
The bell is the soul of the instrument, creating the ringing sound and projection the trumpet is known for. If the bell is improperly designed or manufactured poorly, the sound will not be satisfactory.
Student bells are usually two pieces of brass brazed together at the throat. Good quality manufacturers will use ‘Plasma Welding' which uses a laser to bond two pieces of metal (brass) without the use of solder. The two piece bell is not as good as a one piece, hand formed bell, but as long as the quality of manufacture is good, it will provide the proper sound and feel for a beginning player.
Student trumpet bodies have traditionally been made of heavier brass than professional horns as the thicker brass is more sturdy and easier to mend. Beginning players are more likely to dent their horns than more advanced players, and good quality student horns are made with repair in mind.
Leadpipes are the part of the trumpet closest to the mouthpiece, and as a result, closest to the mouth. Younger players are less apt to rinse out their mouths before playing, resulting in food particles being blown into the horn. Good quality student horns will have leadpipes made of copper, or of high copper content brass. Copper is more resistant to metal rot than simple brass, and will last longer without having to be replaced.
Intermediate Trumpets are made to a higher quality standard than the student trumpets. But, some manufacturers simply re-work their student horns and price them as intermediate horns. They will take the student model, put in superior valves, fancier finger buttons, silver plate the horn, and give it a fancier case. We prefer to offer trumpets that are designed to a higher standard, but still have a reasonable cost. A few manufacturers make intermediate trumpets near the quality of professional trumpets, and keep the price down by offering the instrument in only one popular configuration. Intermediate trumpets should cost in the range of $795.00 to $1,500.00.
Professional Trumpets actually come in multiple levels of quality. The basic professional trumpet will sell in the neighborhood of $1,800.00 to $2,500.00. More labor intense, handmade trumpets will range from $3,500.00 to $25,000.00!
Features of The Trumpet & Their Benefits:
- Bell:
- One piece on most pro trumpets, free ringing & pure tone production
- Hand Hammered: Found on most pro trumpets. Worker can determine when bell sounds best before spinning it smooth.
- Bell Seam: inside the bow, was once found on most pro trumpets and now the standard procedure. Bending towards the seam is safe way to manufacture with less waste.
- Bell Seam On Side
- More expensive, putting seam where the braces are trumpets mounted leaves the rest of the bell to resonate. But bending the bell with the seam on the side is riskier as the seam cracks open more often. More bells are discarded, driving ultimate cost up.
- Standard Bell Wire
- On most pro trumpets A wire is soldered into the curled up bell ring. This adds physical strength and improves sound projection. Bell wires are usually NOT found in student trumpets.
- French Bell Bead
- More expensive, the rim of the bell is not bent back on itself to create the ring. Wire is soldered onto the bell with a sheath of brass to protect and reinforce. This is better as the stretching of the bell to form the rim may distort the brass in the bell.
- Different materials
- Most pro trumpets bells are offered in yellow brass rose brass, red brass, pure copper, and sterling silver. All offer ability to pick a sound best suited to the individual player.
- Different tapers
- Offered on most pro trumpets. The shape of the bell throat taper will alter the projection, tone, and feel of the trumpet. While there are bell shapes that are far and away the most popular, each player creates a unique sound and needs to find the best bell for their individual needs. Reading opinions on the web won't help you find the sound you want. You have to play them.

Bore:
Medium Large Most Trumpets .459 to .460” inside diameter of the second valve slide. The bore indicates the amplitude of the wave in the trumpet. Medium large suits 90% of all players 90% of the time.
Large .462 to .464” inside diameter of the second valve slide. Larger bore will create a more open sound. Takes more energy to play and is harder to control intonation at softer volumes.
Xtra Large .468” to .470” inside diameter of the second Valve slide. Takes even more energy. May be good for players playing mainly very loud music.
Body Configuration:
Two piece valve on some trumpets. The top of the casing, the ballister, is made Casing of nickel silver rather than brass. Nickel vibrates differently than brass. The bell and lead pipe braces mount to the ballisters, and transmit energy to the valves. If the ballister is made of brass, the vibration is transmitted to the valve cluster. Nickel allows energy to flow out the bell.
Bronstein Music represents the following brands of trumpets: Bach, B&S, CXL by Jupiter, Eastman, Conn, Jupiter, Kanstul, King, P. Mauriat, Selmer, and Yamaha.
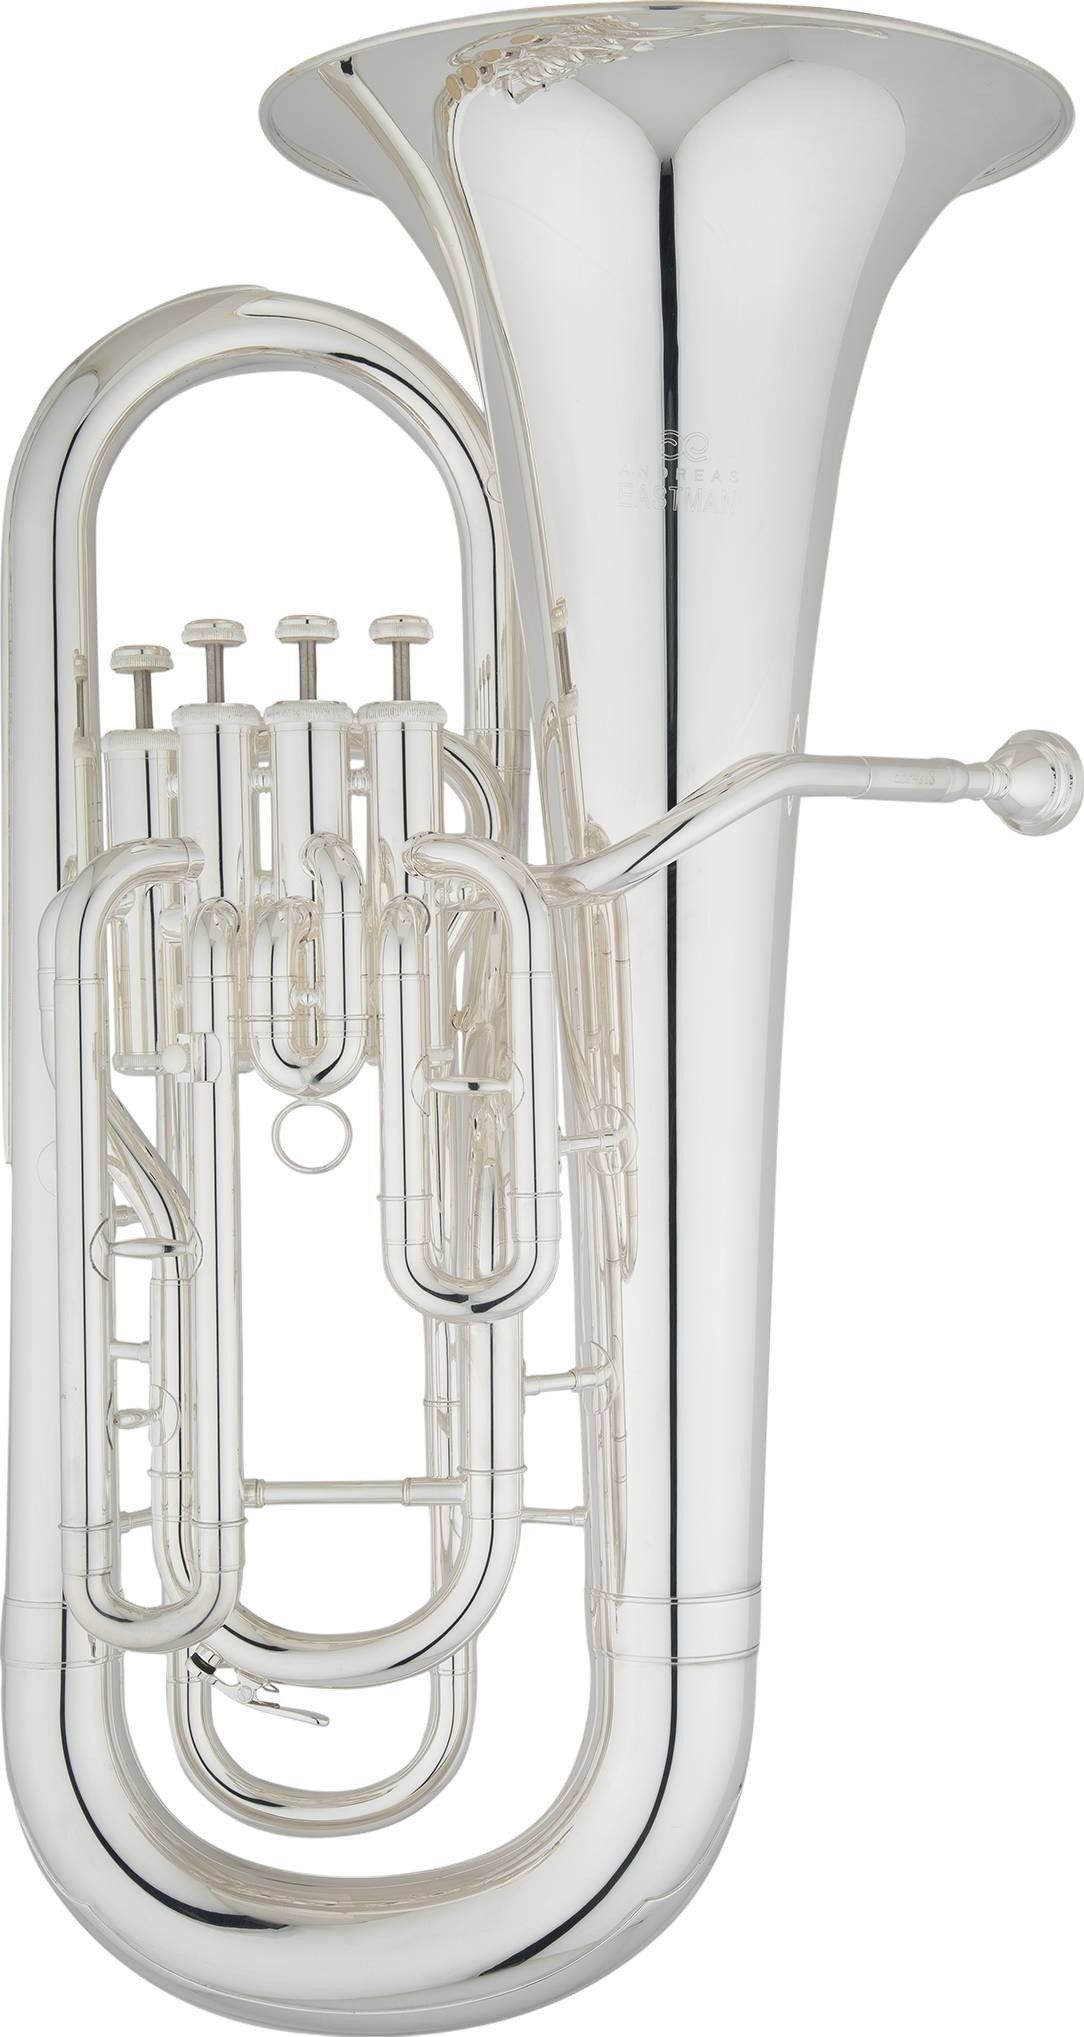
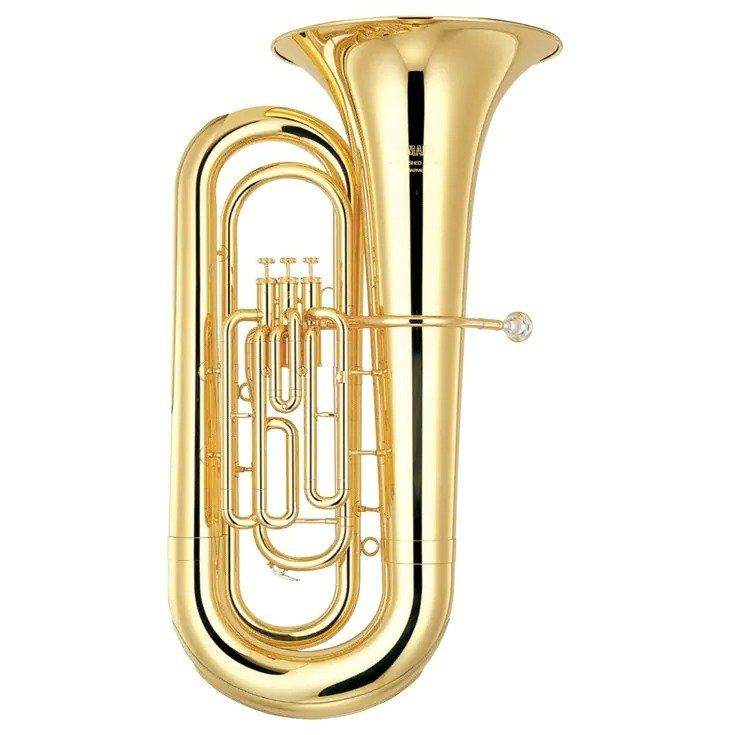
Assembly and Caring for Your Trumpet, Cornet, Baritone/Euphonium, or Tuba
The Care and Feeding of Musical Instruments
For many musicians, the musical instrument they play becomes a part of their identity, much in the same way as the clothes you wear. And just as it's important to do your laundry every week (please!!!) it's important to keep your musical instrument clean and well maintained.
Assembling Your Instrument
- Unscrew the top valve cap from the valve casing.
- Pull out the valve in a straight line-do not twist.
- Apply 2-3 drops of valve oil..
- Place the valve carefully back into the proper casing, aligning the valve guide with the guide slot. Tighten the top valve cap. Move up and down to ensure even oil coating over the entire surface. If there is any damage to the valves or valve casings, take your instrument to our shop for repair.
- Remove slide while pressing the corresponding piston.
- Wipe any dirt from the surface of the inner slides. Apply a small amount of slide grease evenly around the slide tube.
- Replace the slide, working it in to ensure that the grease is thoroughly and evenly spread.
- Soak the mouthpiece in a solution of warm soapy water. Using a brass mouthpiece brush, scrub the inside and outside.
- Rinse thoroughly with clean, warm water.
Always use your case for storing the instrument after playing and for transporting. Be sure the mouthpiece and other accessories are secured tightly, as they can scratch and dent your horn if they come loose during transportation. Do not put anything in the case, like your band book or folder, that could place pressure on the instrument.
*To keep your instrument in optimum playing condition, have it professionally cleaned and inspected by a qualified repair technician annually.
Trombone Assembly and Maintenance
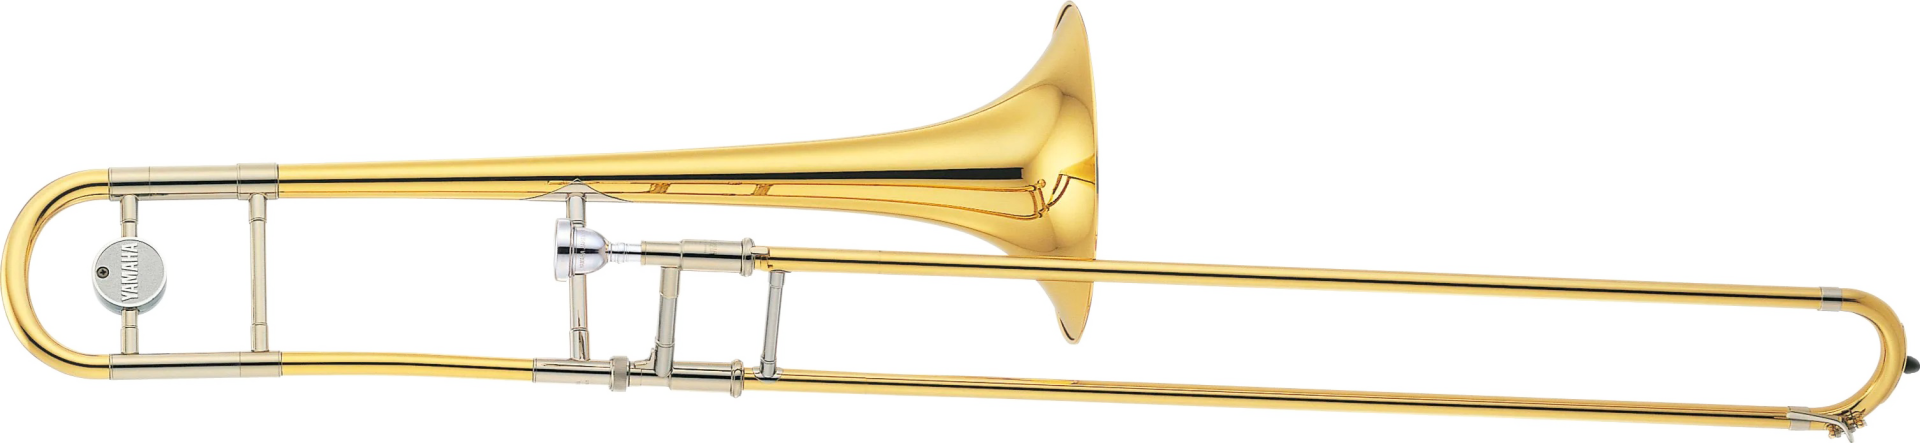
Assembling Your Trombone
Assemble, tune, clean and lubricate your instrument for the first time under the guidance of your teacher.
- Insert the slide section into the bell section. The slide should be to the right of the bell at a 90° angle. The bell and slide should not make contact.
- Tighten the bell lock to secure the sections together.
- Always hold your trombone by the slide brace while resting and make sure the slide lock is locked when the trombone is not in use.
Inserting the Mouthpiece
- The mouthpiece and mouthpiece receiver are easily damaged by improper assembly. Insert the mouthpiece into the receiver, giving it a slight twist to secure it. Never force a mouthpiece into place, as it may become stuck. If this should happen, take the horn to Bronstein Music to have it removed, we have a special tool to remove stuck mouthpieces. Never use pliers or other gripping tools to remove a stuck mouthpiece.
Lubricating the Hand Slide
- Carefully remove the outer slide and lay it on a clean, flat surface.
- Wipe inner slide clean of old cream, dirt, and foreign substances.
- Apply a small amount of slide oil to the stocking of the inner slides (the part that is slightly thicker than the rest). Spread evenly, until it is coated with a thin film.
- Replace the outer slide, moving it back and forth to spread the lubricant evenly.
Cleaning the Mouthpiece
- Using a brass mouthpiece brush, scrub the inside and outside of mouthpiece with warm soapy water.
- Rinse thoroughly with clean, warm water.
Care for the Exterior of Your Trombone
- For daily care, use a soft polishing cloth to remove dust and fingerprints.
Storing the Instrument
- The case should always be used for storing the instrument after playing and transporting. Be sure the mouthpiece and other accessories are secured tightly, as they can scratch and dent your horn if they fall loose during transportation. Do not put anything in the case that could place pressure on the instrument.
*To keep your instrument in optimum playing condition, have it professionally cleaned and inspected by a qualified repair technician.
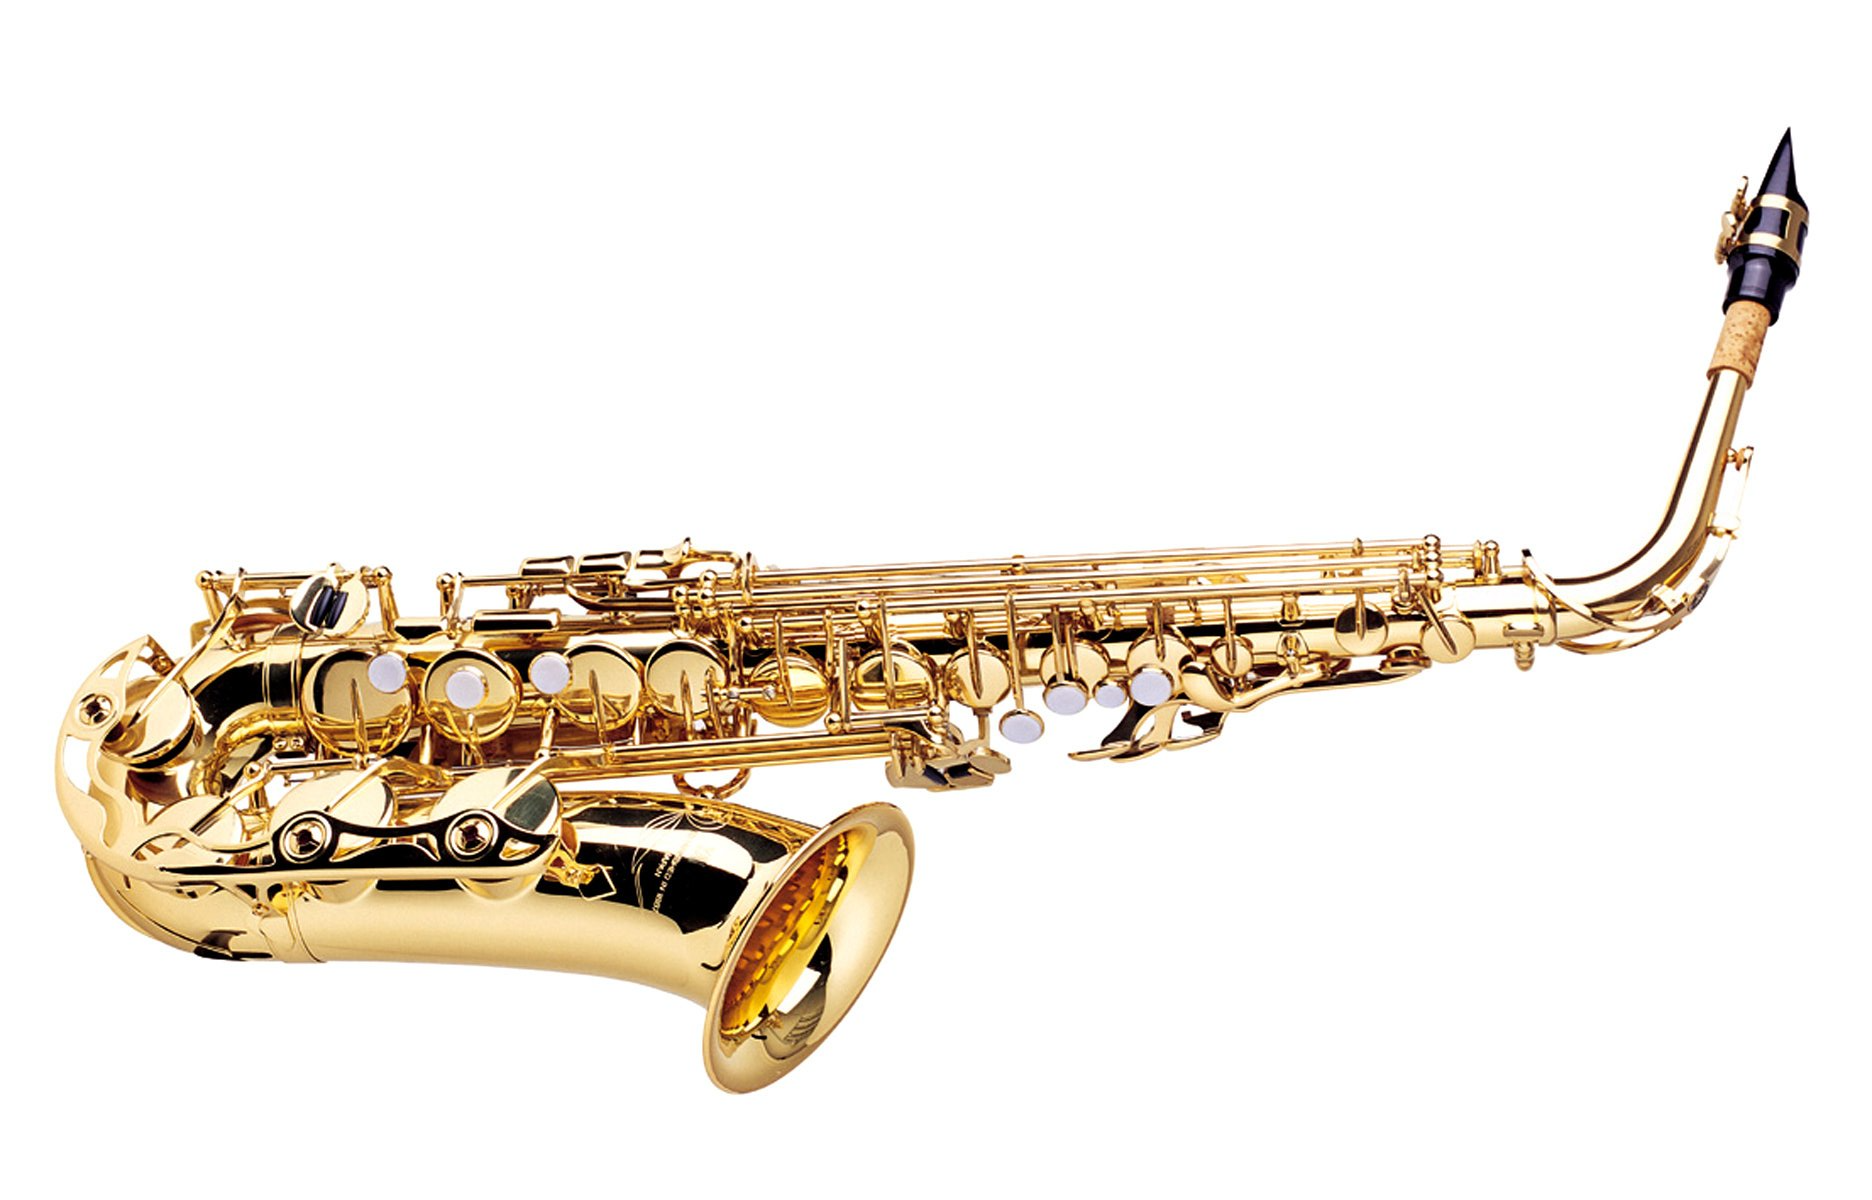
Saxophone Assembly and Maintenance
Take extra care to prevent exposure to sudden changes in temperature and humidity. Avoid direct, extended exposure to:
- Sunlight
- Rain
- Heaters
- Air Conditioners
Assembling Your Saxophone
- Placing the Reed on the Mouthpiece
- Gently hold the reed in your mouth or in water for a few moments before putting it on the mouthpiece.
- Place the reed on the mouthpiece and secure it with the ligature. In the normal playing position, you can just see the tip of the mouthpiece just above the reed.
- If the reed is not lined up properly, the saxophone will make a squeaking noise when you blow air through it.
2. Put the neck strap around your neck
- Make adjustments to its length comfortably.
3. Applying Cork Grease
- Applying cork grease to the corks just before assembly promotes an easy, proper fit of the saxophone's neck. Be sure to apply an even coat onto the cork part of your saxophone's neck to provide protection and extend cork life. It is a good idea to wipe off old cork grease before adding new. Joints that fit together easily need the least amount of grease.
4. Twist the Mouthpiece onto the Neck
- Twist it back-and-forth until it's about halfway down the length of the cork.
5. Pick up your Saxophone by the Bell
- Wrap your fingers around the bell where there are no keys.
6. Hook the Neck Strap onto the Small Loop on the Saxophone
- Twist it back-and-forth until it's about halfway down the length of the cork.
Caring for the Interior of Your Saxophone
- Removing the Reed: Remove the reed from the mouthpiece by loosening the ligature and sliding it off. Dry the reed with a clean cloth and place it in a reed holder.
Removing Moisture from the Mouthpiece
- Remove all moisture and dirt from the inside of the mouthpiece by drawing a cleaning swab through it. Take care not to scratch the mouthpiece, and always pass the swab through from the tenon cork end. A woodwind mouthpiece brush may be used with warm soapy water when mouthpiece becomes especially dirty
Caring for the Exterior of Your Saxophone
- For daily care, wipe the entire length of the body with a polishing cloth being careful not to apply pressure to the keys. Wipe down the keys, taking care not to scratch them or damage the pads.
Storing the Instrument
- The case should always be used for storing the instrument after playing and for transporting. Be sure to remove the reed and store it properly. Do not put anything in the case, like your band book or folder that could place pressure on the instrument.
*To keep your instrument in optimum playing condition, have it cleaned and inspected by a qualified repair technician at least once a year.
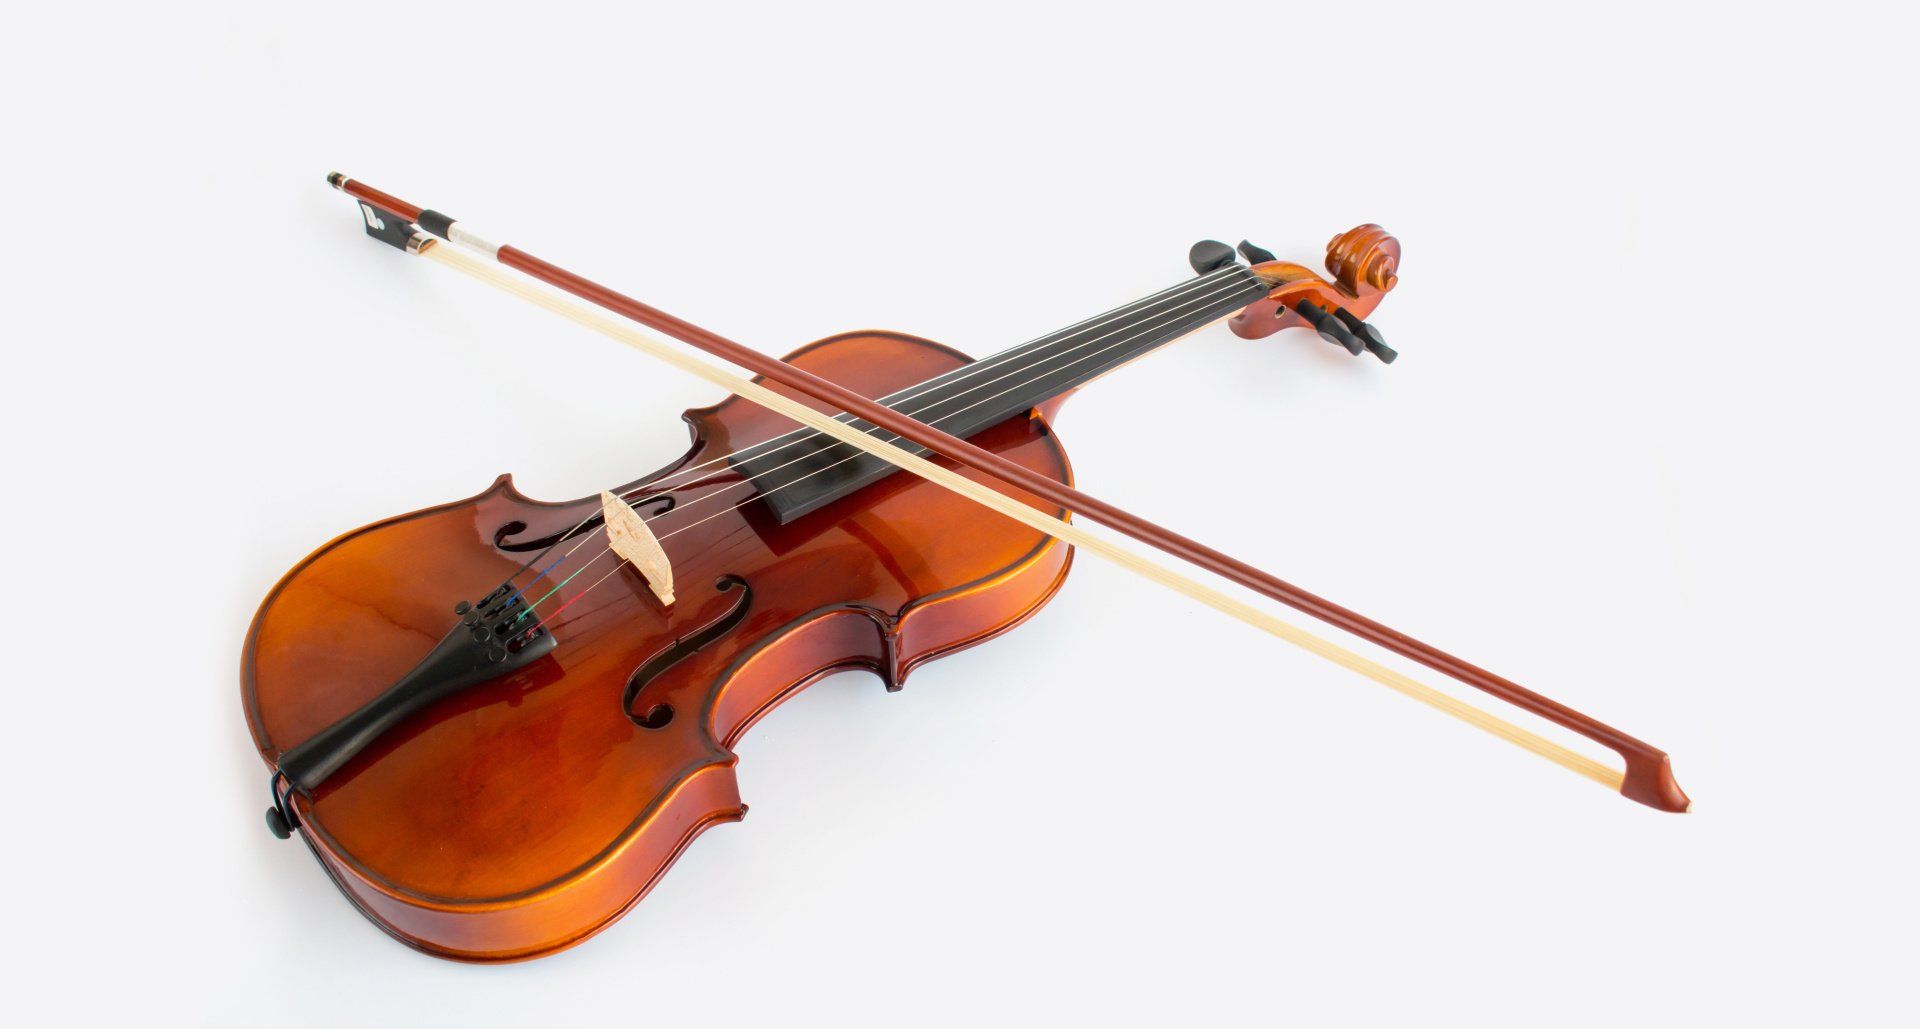
Violin/ Viola Assembly and Maintenance
The Care and Feeding of String Instruments
For many musicians, the musical instrument they play becomes a part of their identity, much in the same way as the clothes you wear. And just as it's important to do your laundry every week (please!!!) it's important to keep your musical instrument clean and well maintained.
Assembling your Violin and Viola
- Check your Bow
- Be careful not to touch the horsehair. Tighten the bow screw. When not in used, loosen the bow when storing in the case.
2. Add Rosin to the Bow
- Rub the rosin against the horse hair from frog to tip.
3. Shoulder Rest on the back of the Violin/ Viola
- Always use your case for storing the instrument after playing and for transporting. Be sure the bow and other accessories are secured tightly, as they can scratch and dent your instrument if they come loose during transportation. Do not put anything in the case, like your band book or folder, that could place pressure on the instrument.
*To keep your instrument in optimum playing condition, have it professionally cleaned and inspected by a qualified repair technician annually.
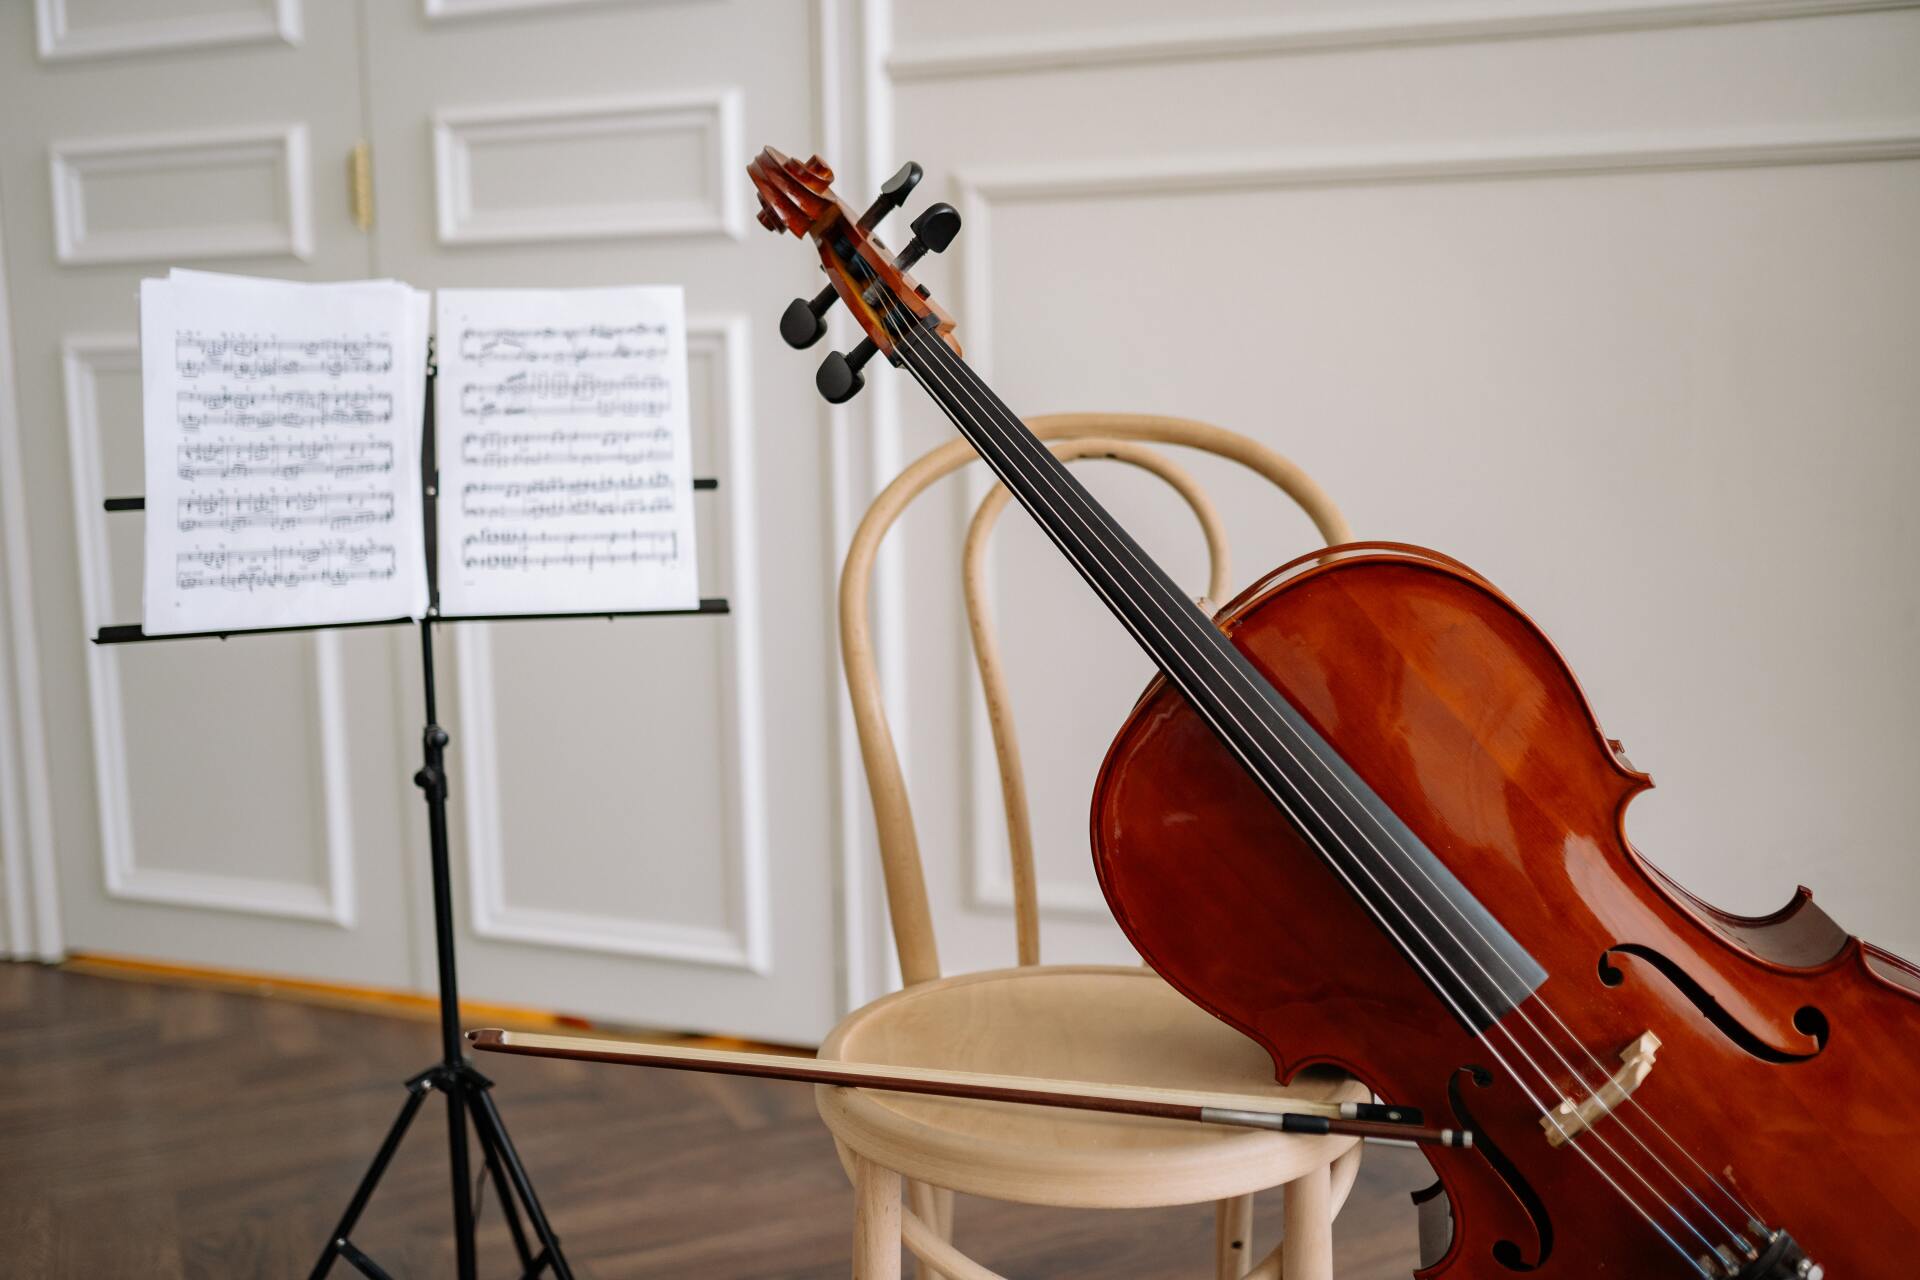
Cello Assembly and Maintenance
The Care and Feeding of String Instruments
For many musicians, the musical instrument they play becomes a part of their identity, much in the same way as the clothes you wear. And just as it's important to do your laundry every week (please!!!) it's important to keep your musical instrument clean and well maintained.
Assembling your Cello
- Check your Bow
- Be careful not to touch the horsehair. Tighten the bow screw. When not in used, loosen the bow when storing in the case.
2. Add Rosin to the Bow
- Rub the rosin against the horse hair from frog to tip.
3. Shoulder Rest on the back of the Violin/ Viola
- Adjust the shoulder rest if needed
- Always use your case for storing the instrument after playing and for transporting. Be sure the bow and other accessories are secured tightly, as they can scratch and dent your instrument if they come loose during transportation. Do not put anything in the case, like your band book or folder, that could place pressure on the instrument.
*To keep your instrument in optimum playing condition, have it professionally cleaned and inspected by a qualified repair technician annually.
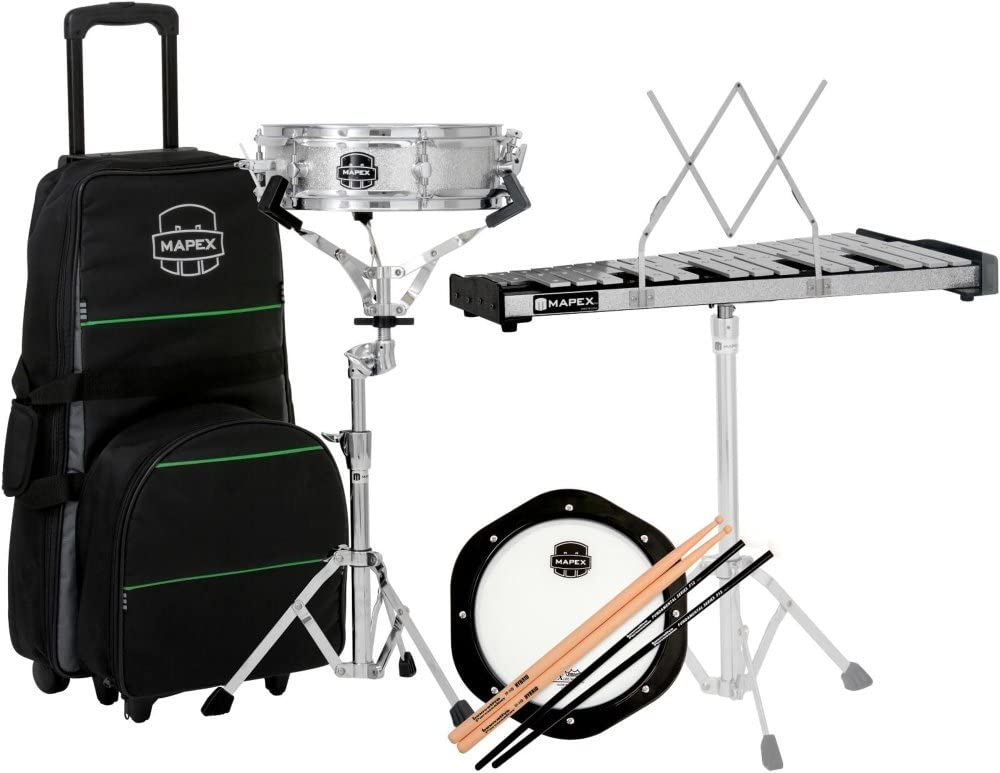
The Care and Feeding of
Percussion
For many musicians, the musical instrument they play becomes a part of their identity, much in the same way as the clothes you wear. And just as it's important to do your laundry every week (please!!!) it's important to keep your musical instrument clean and well maintained.
Assembling your Snare Drum and Bell Kits
- Setup the Stand
- Setup the stand so it is resting on the floor and is stable.
2. Place the Snare Drum/ Bell
- Place the snare drum on the stand inside the basket. Adjust the basket if needed.
3. Height Adjustment
- Adjust the stand height comfortably if needed.
*The stand for the bell kit also fits the practice pad. Only one instrument at a time can be used on the stand.
- Always use your case for storing the instrument after playing and for transporting. Be sure the snare wire is on
when storing the instruments.
*To keep your instrument in optimum playing condition, have it professionally cleaned and inspected by a qualified repair technician annually.
Our Featured Brands